DIY: How to Make Punched Paper
Usually in Mexico we use "papel picado", or "punched paper" as decoration in many of the festivities, so named for its artesanal production technique where paper is chiseled, not cut.
Decorating with Punched Paper for the Day of the Dead and HalloweenAlthough I have not yet put the altar of the dead in my house, I got the idea of using this technique to decorate my patio. I added some Halloween designs to make it fun .The traditional way to make punched paper with a chisel and hammer is not easy at all but I found a way to make it simple, decorating my home with paper is much cheaper than buying seasonal decor in from the mall, plus I enjoy the sound and way the paper moves, it makes me feel happy.Whether you want to make punched paper for your Day of the Dead altar or prefer to use it as a seasonal decoration, here are some tips:
- Colored Tissue Paper
- Exact knife
- Ruler
- Cutting board
STEPS:
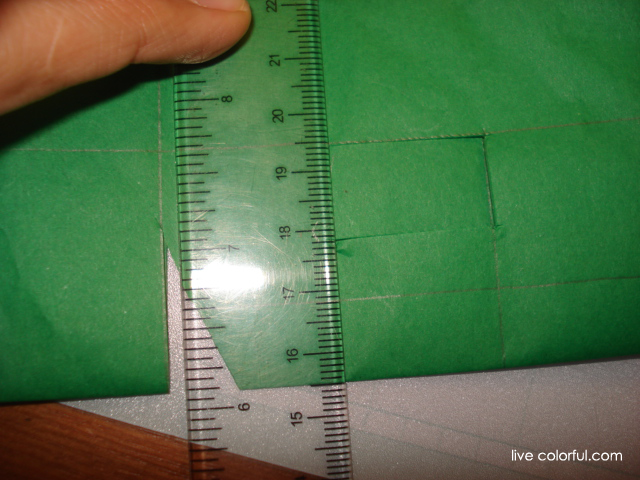
1. You have to divide the paper in four, just fold it do not cut it.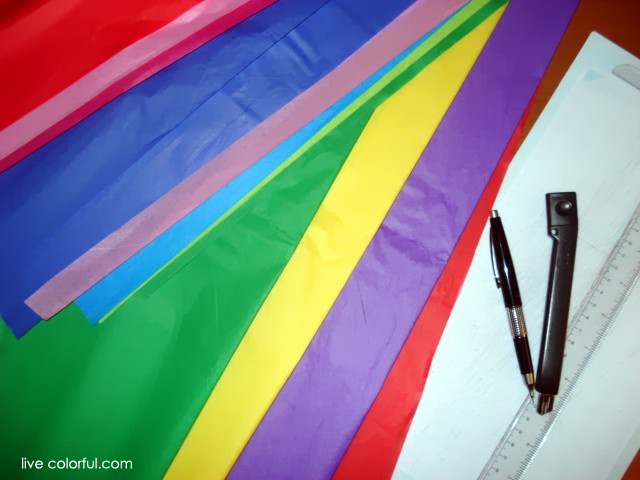 2. Sketch a design with pencil in the middle of the paper, draw something, a pumpkin, a bat, a skull, a ghost, whatever you find interesting and festive. In this case I sketched a skull I found on the internet, you can super impose the paper on your computer or print the image and draw it.
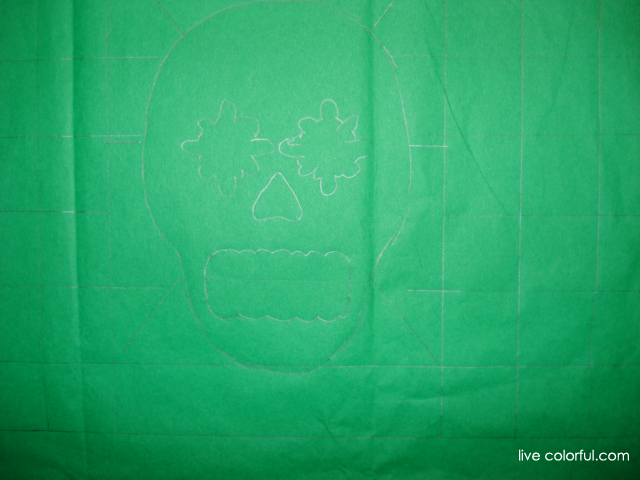
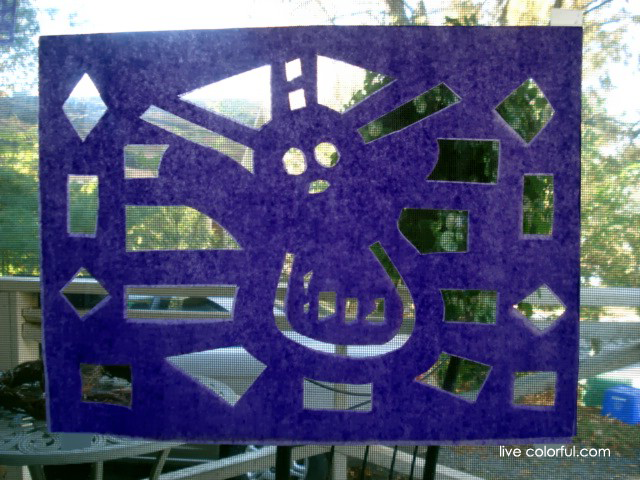
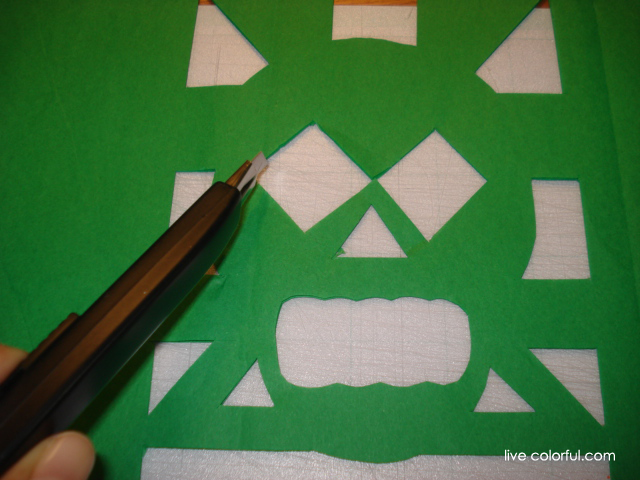 4. When you have finished the main figure, it's time to decorate the border. An easy way to do it is folding the paper several times and cut shapes with the exacto knife, when you unfold the paper the figure is going to be repeat several times in the design.
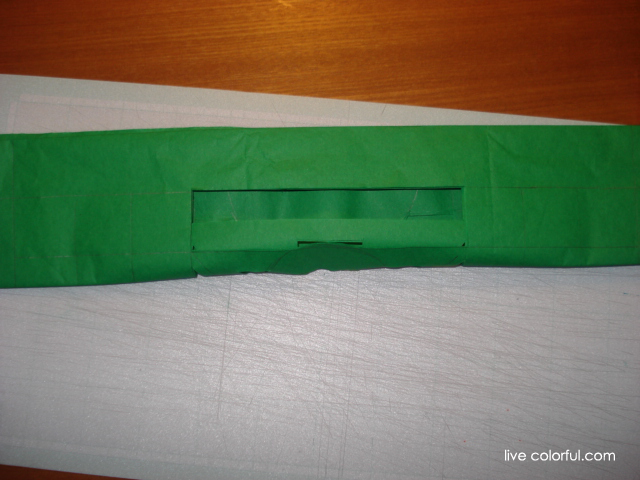
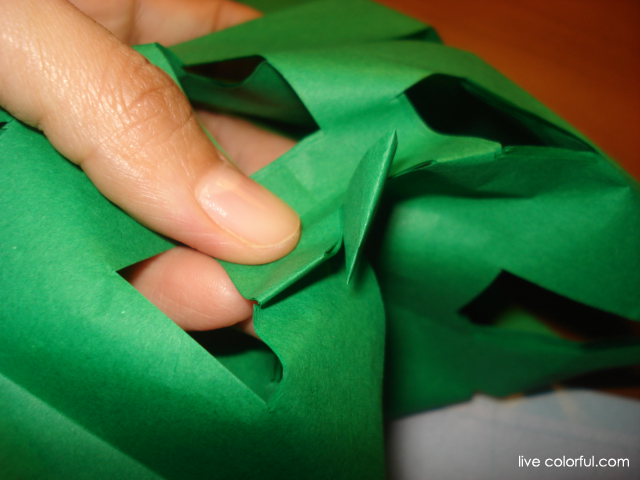
 Another way is to fold the paper with your fingers in each space you think is empty and make cuts with the scissors.
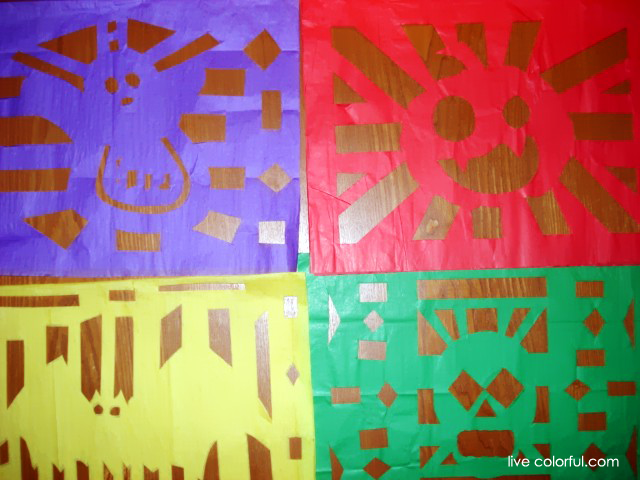
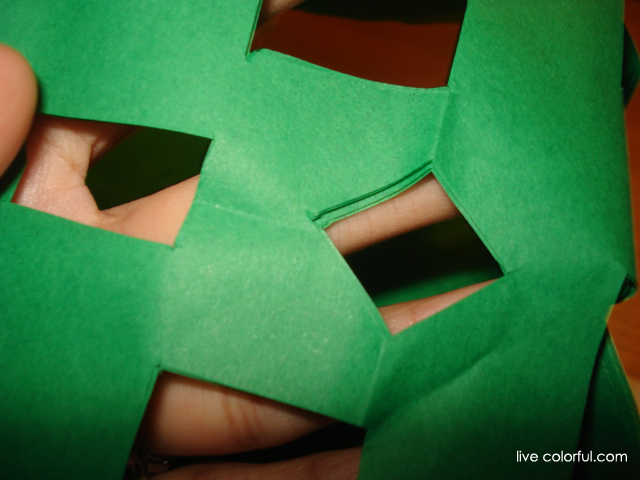 That's really all you need to do.
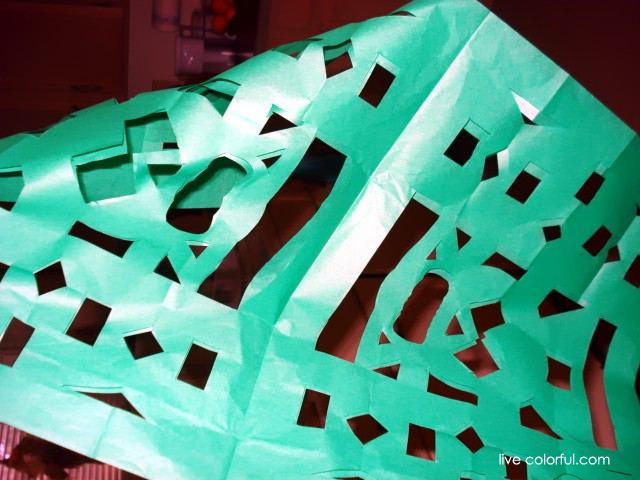 For every piece of paper you will have 4 small squares with the same design.Tip. This is another design. Look at the exterior lines of the pumpkin, that is the only thing that gives it shape.
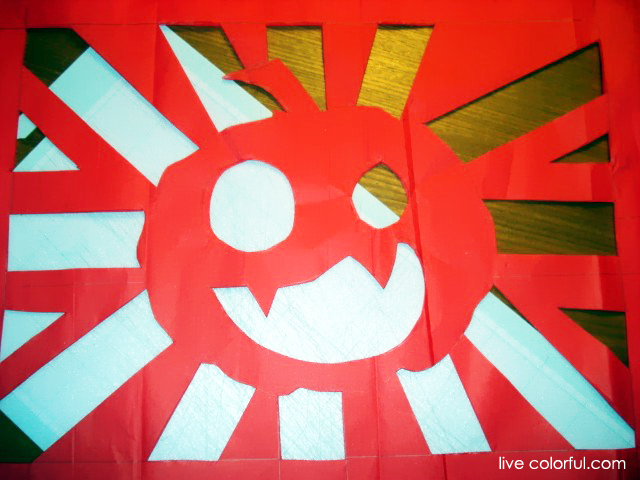
 Alright I'm done, now what?
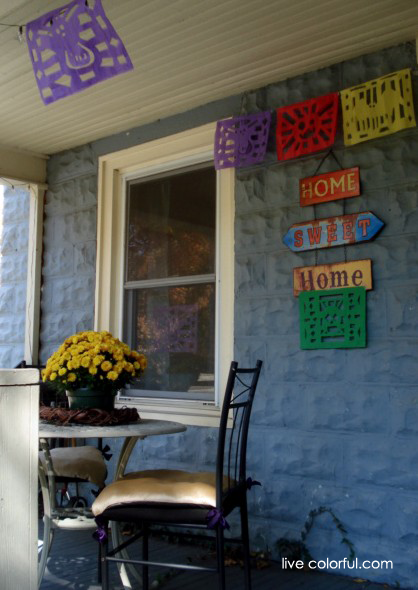
- You can tape your designs with clear tape. Use it on windows or walls.
- Another way is to tie a thread on the ceiling or walls and hang the paper on it with clear tape or a stapler.

 Now all I need to go buy some pumkins and make my altar of the Dead on November 1st!!! Excited! xoxo Elba