How to Make an Awesome Framed Chalkboard

How to make an awesome framed chalkboard | Live Colorful
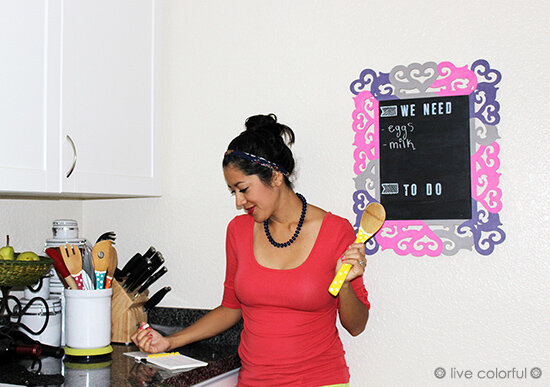
I'm super excited to show you my new chalkboard that I created using a couple unique materials: some pieces of basswood, chalkboard paint, stencils (adhesive silkscreens) and some super amazing erasable liquid chalk.
I used different colors to paint the frame because well, you know me, I couldn’t resist trying all of them at the same time. I really like the fun effect, which by the way, would look amazing in a kid’s or teen’s bedroom, but in my house, it’s going directly in my kitchen. I’m so excited about the idea of being able to write notes and grocery lists on there!
Want to learn how to make a chalkboard like this one?
How to make an awesome framed chalkboard | Live Colorful
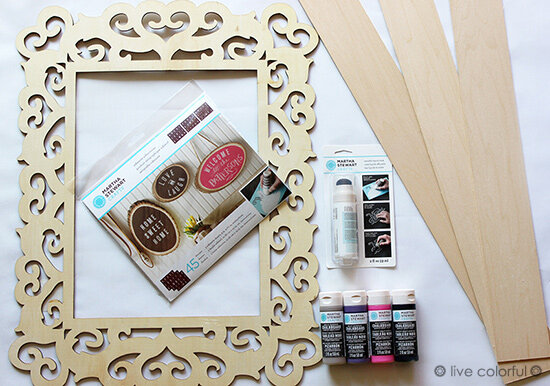
MATERIAL:
Martha Stewart Crafts® Multi-surface Chalkboard Paint in raspberry ice, grape jelly, gray and black
Martha Stewart Crafts® 2oz Erasable Liquid Chalk, White
Martha Stewart Crafts® Adhesive Silkscreens (stencil)
A fun looking frame. You can reuse an old one you already have at home! I found this one at Michaels and loved the shape.
Three or so basswood strips
Brushes and tape
All these products are available at Michaels
STEPS:
Note:If you find a complete picture frame you are not going to need to create the back of it. You can skip to step #3.
How to make an awesome framed chalkboard | Live Colorful
How to make an awesome framed chalkboard | Live Colorful
How to make an awesome framed chalkboard | Live Colorful

How to make an awesome framed chalkboard | Live Colorful

How to make an awesome framed chalkboard | Live Colorful
How to make an awesome framed chalkboard | Live Colorful
How to make an awesome framed chalkboard | Live Colorful

How to make an awesome framed chalkboard | Live Colorful
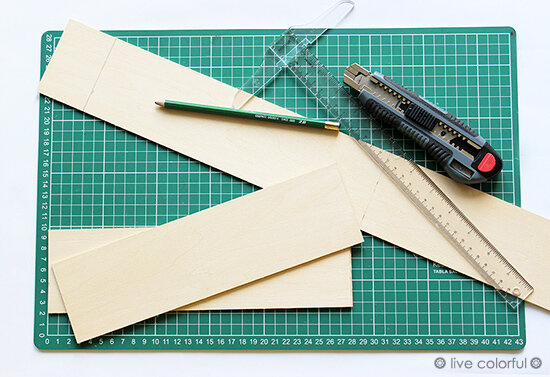
1. Let's complete the frame. I’m using some pieces of basswood for the back of the frame. You can also buy plywood and cut a rectangle that fits the frame. I decided to try the basswood because it’s easier to cut and really lightweight. The little spaces will help me write the notes in straight lines, something I’m obsessed about.
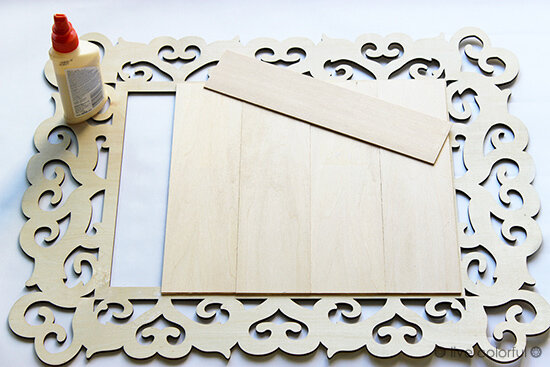
2. Glue the basswood to the frame using wood glue.
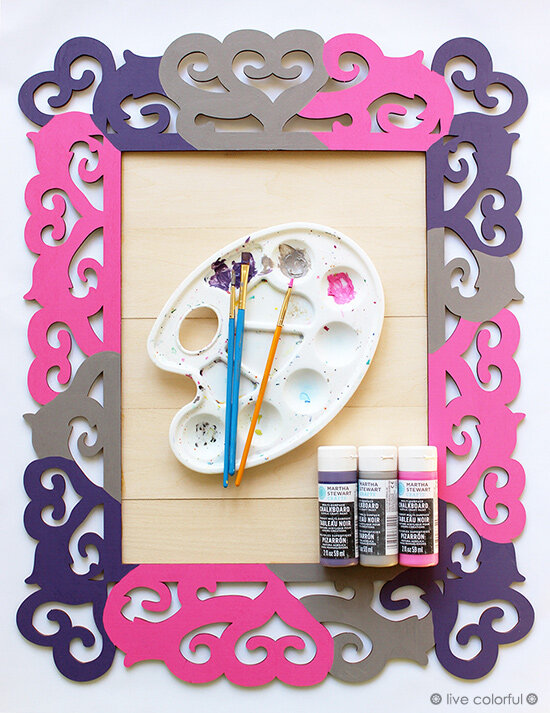
3. Start painting the frame. I used Martha Stewart Crafts® Multisurface Chalkboard Paint in raspberry ice, grape jelly, and gray. This water based paint lets you turn any porous surface into a chalkboard, it's available in lots of colors! Add two layers of each color and let them dry at least an hour between each coat. Do you know the best part? You are going to be able to write notes on the frame as well!
4. Now we need to paint the inside of the frame. I used Martha Stewart Crafts® multi-surface Chalkboard Paint in black. It’s an incredible rich color that will contrast with the white liquid chalk and create a fantastic effect. Add two or three layers of this color and when you finish, allow the paint to cure for 24 hours.
5. Rub the flat side of a chalk over the entire surface and wipe it off using a damp paper towel.
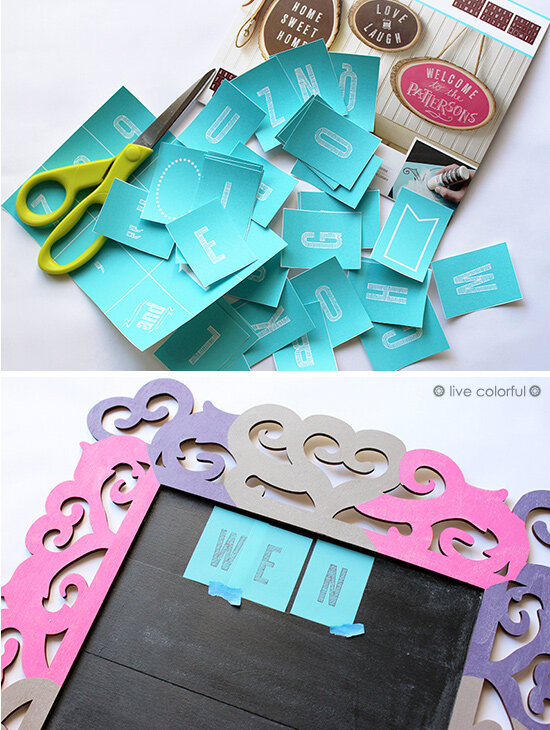
6. Using the amazing Martha Stewart Crafts® Adhesive Silkscreens, start organizing letters and adding shapes. You are going to need to cut every letter first. The silkscreens are adhesive but you might need to attach them with tape for extra support.
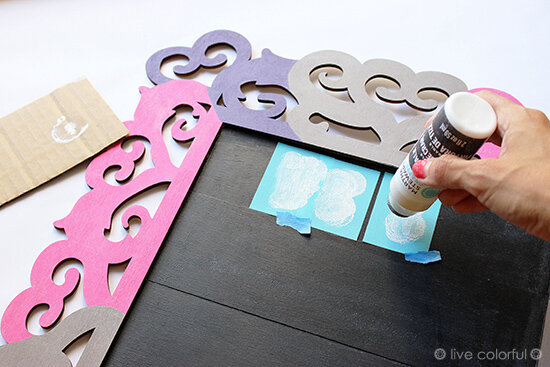
7. Now it’s time to start using the awesome erasable liquid chalk. Dot or rub the liquid chalk over the stencil. When finished, carefully peel back your stencil. You can wash your stencil with some warm water after this step and save them carefully for other future projects.8. Allow the liquid chalk to dry. It will not come off until you use a damp cloth or sponge, leaving no shadow, isn't that awesome?
How to make an awesome framed chalkboard | Live Colorful
*Disclosure:I wrote this post as part of a paid campaign with Plaid Crafts, Martha Stewart Crafts® and Blueprint Social. All ideas, pictures and opinions are my own.