DIY: Pink Chalkboard Easter Eggs
Make some adorable chalkboard easter eggs and decorate them with special messages or doodles.

I haven't had a lot of free time this month but I was so inspired by the amount of beautiful Easter egg decorations I found on the web that I couldn't resist to making my own.
So yesterday when my son took one of his unusual "long" naps, I ran to look for material and started crafting these sweet pink Easter eggs.
To paint them I used the same Martha Stewart chalkboard paint I used for my kitchen frame here. It's an awesome paint, vibrant and easy to apply and I just LOVE the fact that you can write on it.
Here is the list of materials and steps to make your own pink chalkboard Easter eggs. Are you ready?

MATERIALS:
Brush
Eggs
Chalk for doodling and writing on your Easter eggs

How to make chalkboard Easter eggs:
Clean your eggs. Poke a hole in the eggs to get out the yolk and clean the eggs with water before we start painting them.
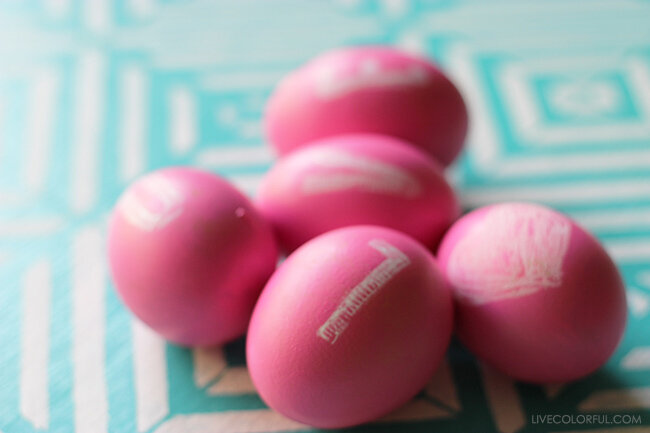
Start painting your chalkboard Easter eggs. Apply two or three layers of multi-surface chalkboard paint using a brush and covering all corners. You might have to place the eggs in some kind of vase, like a napkin ring, to be able to paint them completely. Let them dry for a couple of minutes.

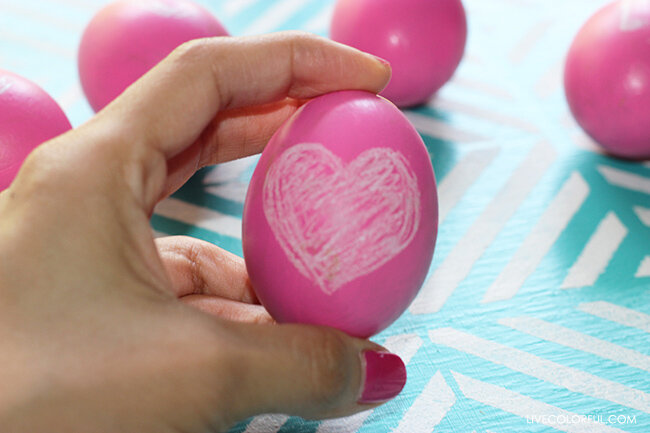
3. Decorate your Easter eggs. To decorate your chalkboard Easter eggs use regular chalk, you can write notes, names, shapes or anything you want on them!!!! Just have fun!!

Happy Easter friends! I hope you are having an amazing week.