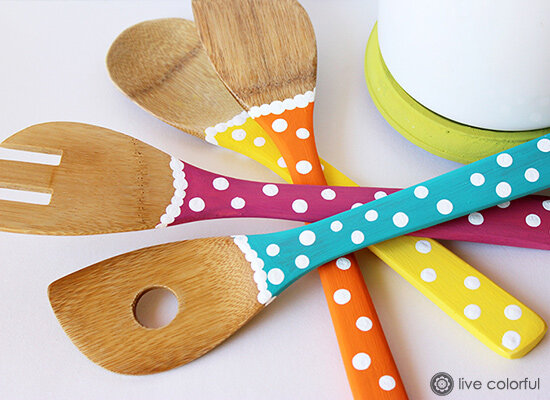
DIY: Color your Kitchen Utensils!
I couldn’t resist the temptation to add a little color to my kitchen utensils! I have a couple of red plastic spoons that look great but these were the ones that needed some spice and ever since my friend Denise from PearMama, shared her adorable ombre spoons on her blog, it left me with the wanting to do the same in my kitchen.
The materials I used are:
-
Sandpaper (in case your utensils have a previous glossy finish)
-
Acrylic paint (check out that the label says nontoxic). You could use soy paint
too!
-
A chopstick to make the dots
-
Sealant protection, totally natural and nontoxic called Bulls Eye Clear Shellac
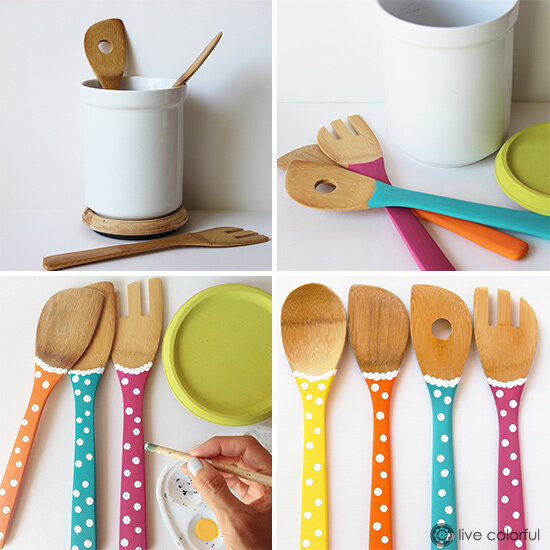
Note: If your utensils have a glossy finish, you'll have to sand them slightly using a small to medium-grained sandpaper so the paint easily adheres.
1. Start painting the handle. You may need to apply about three layers of each color. The trick is to let each layer dry completely so that the color looks uniform.2. Use a thick stick to make the dots, chopsticks work perfectly! First pour some paint into a container and start dipping the chopstick in the paint and pressing dots on the handle. Just like a stamp! Let them dry for a few minutes.3. Make sure everything is completely dry before you add the sealant. I used a new one that a friend recommended (bulls eye clear shellac
 You can paint half of the handle and do something like Denise using tape. I didn’t paint any area that comes in contact with food just as a precaution.
What colors would you use for your utensils?

