DIY: Rainbow Doormat
Check out how to make this colorful rainbow doormat that will brighten up your home!
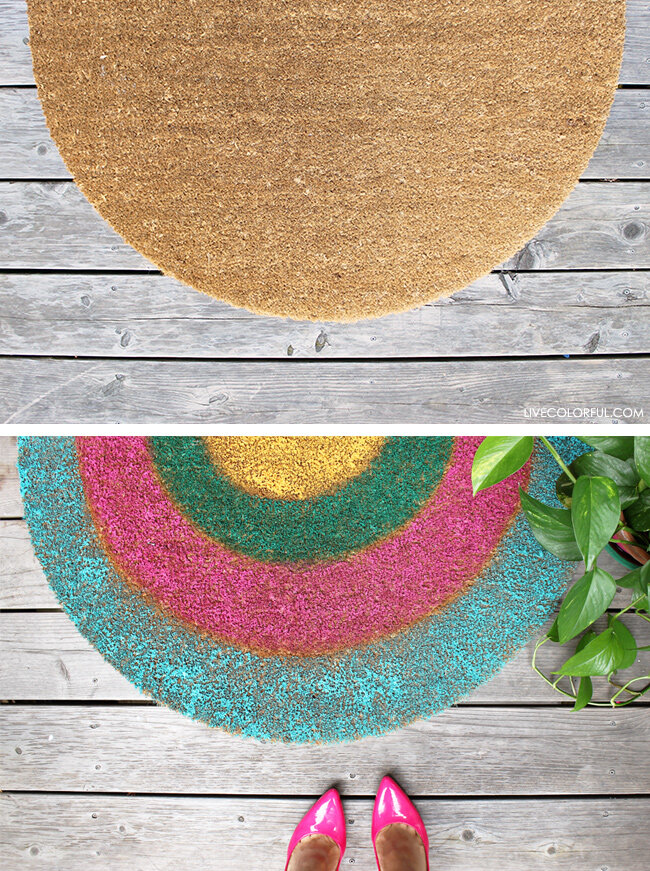
A few weeks back I painted the doormat I bought for my entrance using different colors to make it look like a rainbow.
It was an idea I got by just looking at the semicircular doormat I got in the store. I really love how easy it was to paint it, and how durable and vibrant the color looks even months using the doormat in our home.
It’s such a fun DIY project to add some color in your home, and super easy. I hope you love it as much as I do.
MATERIALS:
Semicircular coir doormat. I don’t remember where I got mine buy hopefully you can find one online similar to this one here.
Acrylic paint
Angular paint brush. You can use a regular paint brush but the angled cut is great to introduce paint all inside the whole doormat.
How to make a rainbow doormat:
Create your design. Start by delineating the areas where you want to add each color to create a rainbow. The whole idea is to paint and fill some thick lines using different colors. Divide the doormat and use a thick chalk to leave a mark in each area before painting.
Paint your rainbow in your doormat. Grab plenty of paint and dip your angled brush in it, start pressing the paint in the doormat. You are going to press firmly more like blotching than creating brushstrokes because your mat will probably be super stiff like mine. The whole idea is to fill all the delineated areas using different colors.
Wait until the paint dries completely. I waited 24 hours before I started using my new awesome rainbow doormat.
I’m actually super surprised how well the acrylic paint worked for this project. The acrylic paint dries and gets a consistency similar to plastic. I have been using the doormats for months and the color is still vibrant and looks great!

