How to Make an Original Wall Clock with Plants
If you are looking for a neat way to decorate your walls you need to check out this idea! How to make a wall clock using wooden crates and your favorite plants
I really wanted to put a wall clock in my apartment, but I hadn’t found the right one.
I had seen some very small, some very large and most seemed to me ordinary and I wanted something original and fun. So I went to the store and found all the parts needed to make my own wall clock.
I originally wanted to use pictures in frames, but in one of those outings I saw some adorable mini wooden crates and came up with the idea of hanging small plants with numbers in the form of a wall clock. This ended up being a great way to add some green to my space too!
How to Make an Original Wall Clock with Plants:
Paint the crates using acrylic paint. You can use solid colors or create patterns in your wooden crates like stripes or dots, or draw something fun like fruits, flowers or whatever comes to mind. Use your imagination!
Add the plants to your wooden crates. Once you finish painting the crates, let them dry for a couple of hours. When they are dry, place the soil and add your favorite hanging plants using a plastic bags or plastic container underneath so water doesn’t fall through the holes in the crates.
It’s time to glue the numbers! Use hot glue or something like tacky glue to add the numbers in the middle of your small wooden crates like you see in the image below. You might not have space to add all the numbers from a clock in your wall, but using just 12, 3, 6, 9 is a great plan!
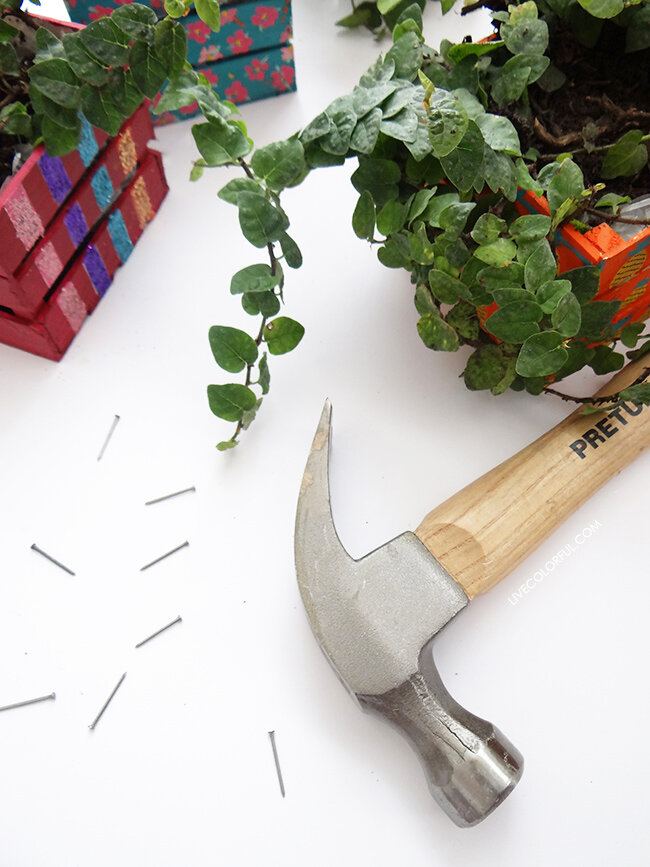
4. Put your wall clock together. Mark with a pencil where you want to put the clock motor in your wall and the wooden crates as well. Add some nails and get ready to hang all the pieces for your wall clock.
It’s ready! With this DIY project you will have a beautiful and original wall clock with pots and flowers, perfect to fill any living space in your home and add some green energy as well.


