How to Make Giant Colorful Paper Flowers
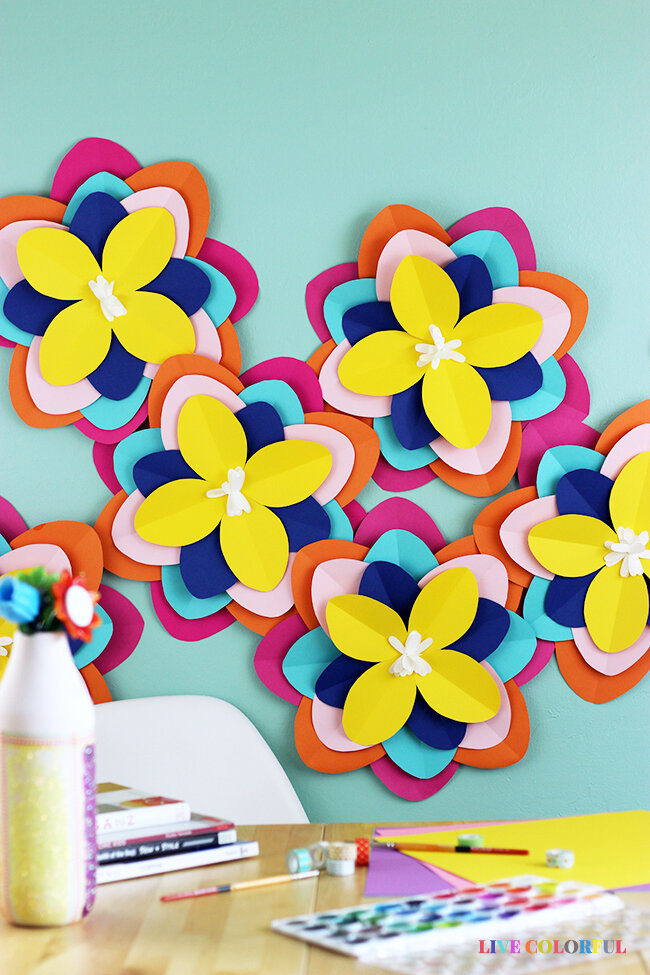
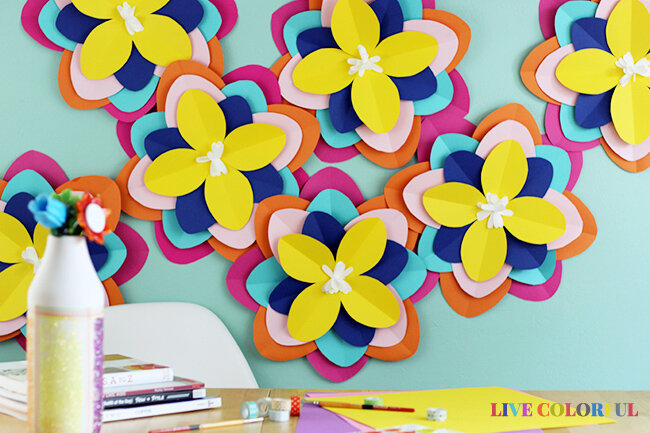
Make these giant paper flowers and create a pretty colorful photo backdrop for an upcoming spring birthday party.
This is a sponsored campaign in collaboration with Hobby Lobby. All pictures and opinions are my own. Thanks for supporting the sponsors that allow me to create new and special content like this for Live Colorful.
I have been wanting to make a fun paper flower display for my studio for a long time. I wanted to create something colorful that would cheer me up while in crafting. So when Hobby Lobby invited me to participate in this campaign, I got extremely excited. I knew it was the perfect excuse to bring the outdoors in with beautiful Spring colors and textures.
So I took a trip to my local Hobby Lobby to get all the material. I honestly could spend hours in their paper craft section, the cardstock displays look like rainbows! But I needed to focus, and after a couple of minutes wandering, I finally decided to take home a couple 12 x 12 sturdy cardstock in varying textures and colors.
I got home and I started brainstorming about the project. At first I wanted to make one giant flower of each color, but then I thought mixing all the colors and textures in one flower would create a more interesting effect, and I was so right!
Check out the easy steps below so you can create your own indoor floral display to decorate your home or to make a pretty photo backdrop for an upcoming spring birthday party.
MATERIAL (this will make one flower):
Cardstock. I used 12 x 12 inch cardstock in seven different colors. Six different colors for the petals and one white cardstock for the center of the flower.
Regular printer paper sheets. I used three sheets to sketch the petals before making molds that I recreated in the cardstock paper.
Exacto knife
Scissors
Glue gun and sticks
Ruler
Pencil
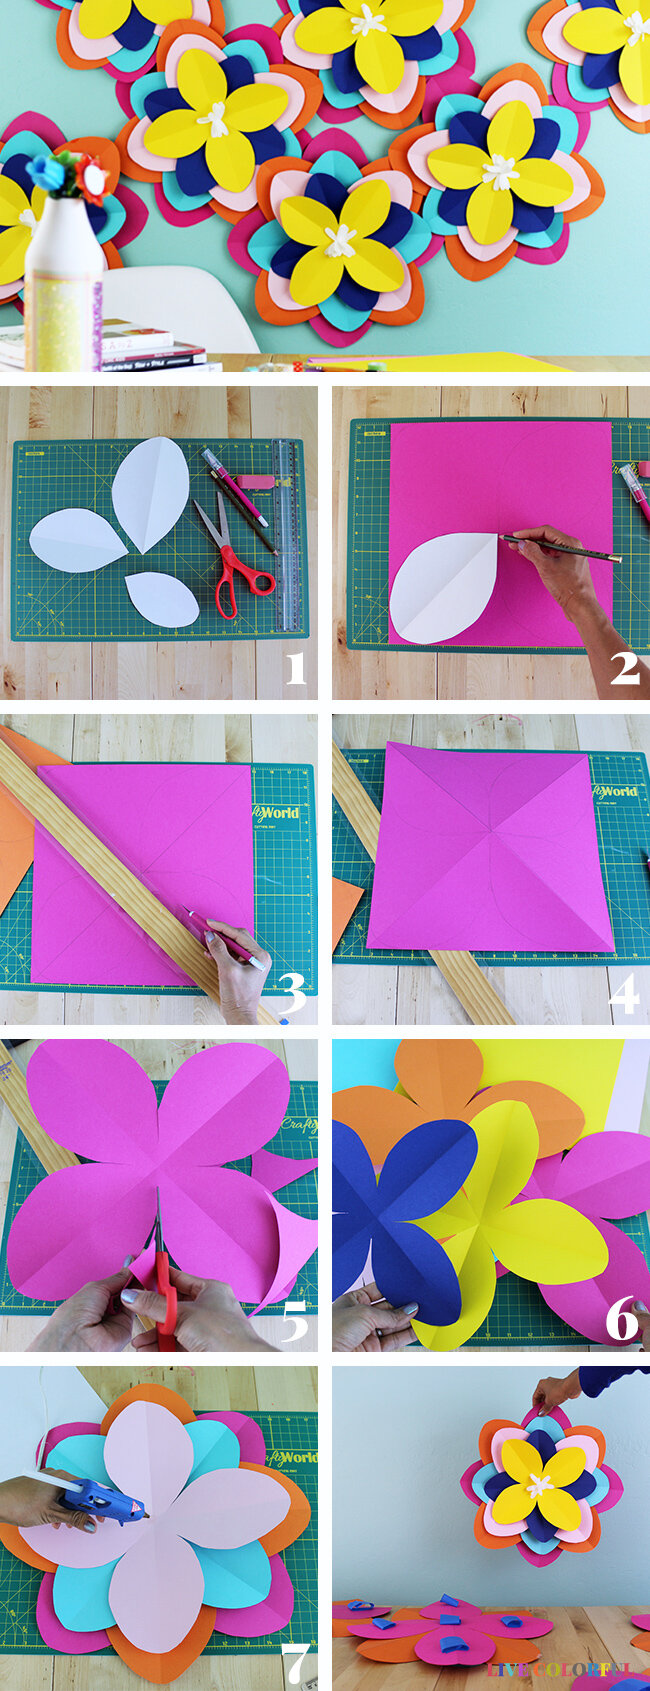
How to make giant paper flowers for a party backdrop: (see image above for details):
Draw three different sizes of petals on white printer paper sheets to make molds.
Mark the center of the 12 x 12 inch cardstock and start tracing the petals using a mold. You should do this with three different sizes of molds.
Mark an X with pencil that cross the whole flowers in the middle.
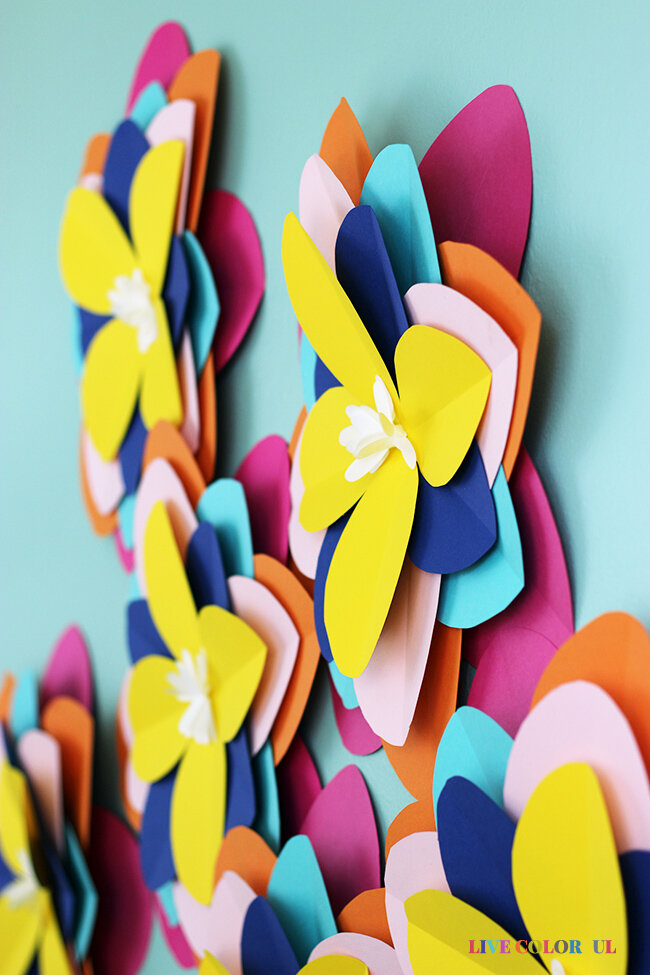
Press gently with the exacto knife the X that you just traced with pencil. That is going to help you fold the petals to create an interesting 3D texture.
Cut the flower leaving the petals connected by just a small part in the center.
At the end you should have six flowers. Two flowers of each size of petal, that is why you need to make three molds.
Glue the flowers together. I started with the biggest petals to the smallest ones and I arranged them so you can appreciate all the six colors.
Tape your giant colorful flowers on the wall and start enjoying them!
This is how I made the center in these giant colorful paper flowers. You can use regular tissue paper in a straight line similar to this tutorial: how to make marigold flowers.
Tips about how to make the center in a paper flower:
To make the center of the flower you can use regular tissue paper in a straight line similar to this tutorial: how to make marigold flowers.
Instead of tissue paper, I used a regular white paper sheet and drew skinny long petals of about ¼” x 1” that were connected with a skinny line just like the pictures above. Then I rolled them and glue them together.
You can also use giant pom poms similar to these ones here (affiliate link), as the center of the flowers!
You can store these giant paper flowers after using them if you put them inside a flat surface like cardboard. You might have to change the center of the flower again, if you want it to look fluffy. This way you can have something beautiful as backdrop in all birthday parties!
Another awesome part about these giant flowers, I can move them around the house as much as I want and enjoy them for different occasions.
Let me know if you make them over Instagram :)
This is a sponsored conversation written by me on behalf of Hobby Lobby. The opinions and text are all mine.


