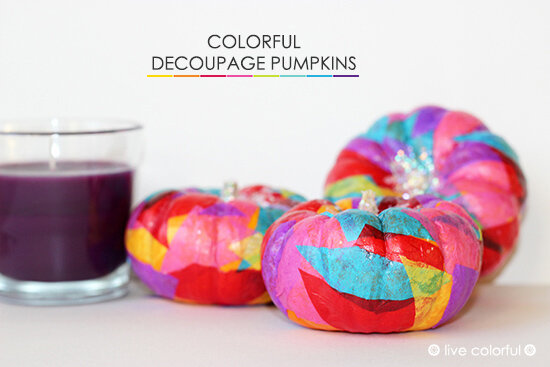
DIY: Colorful Decoupaged Pumpkins
I’ve carved them, painted them and even dressed them as funny characters, but I’ve never tried to decorate them using the decoupage technique, until yesterday and I loved it. Of course I'm talking about the awesome pumpkins that brighten our home during fall.
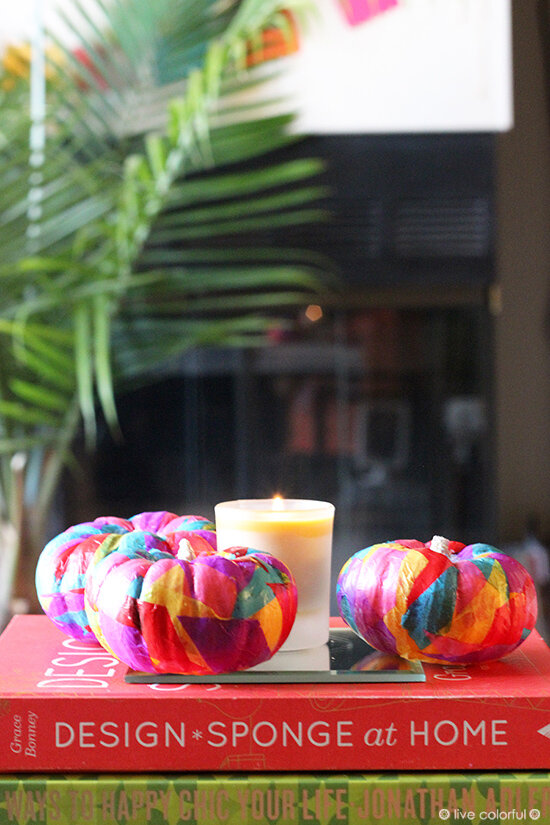
They are now in my living room along with a small candle and a couple of books I love looking at every day. I really like how fun and colorful they look, but mostly how easy it was to make them.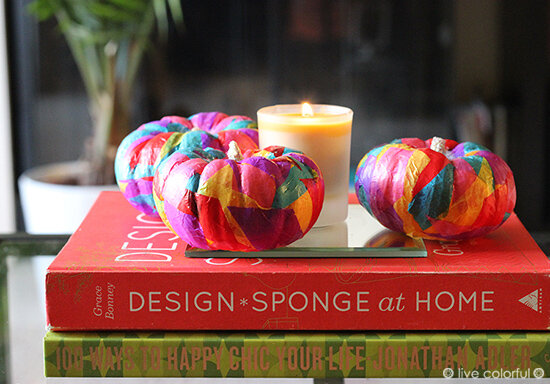
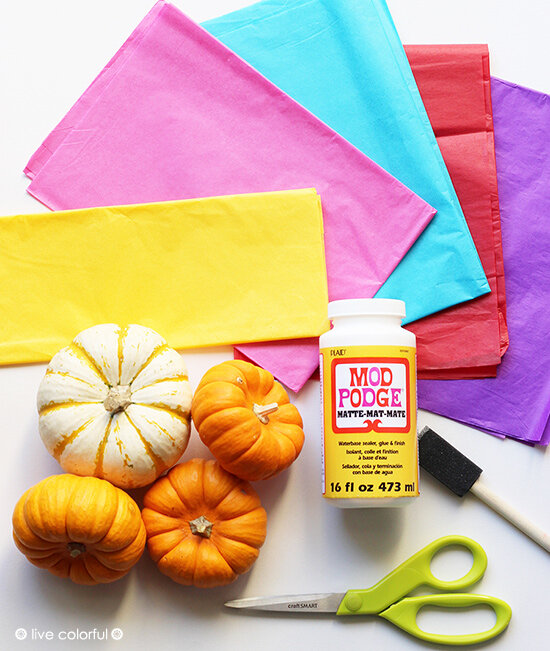 MATERIALS:
- Pumpkins
- Tissue paper
- Scissors
- Brush or sponge
- Mod Podge
or any other decoupage sealer brand

STEPS:
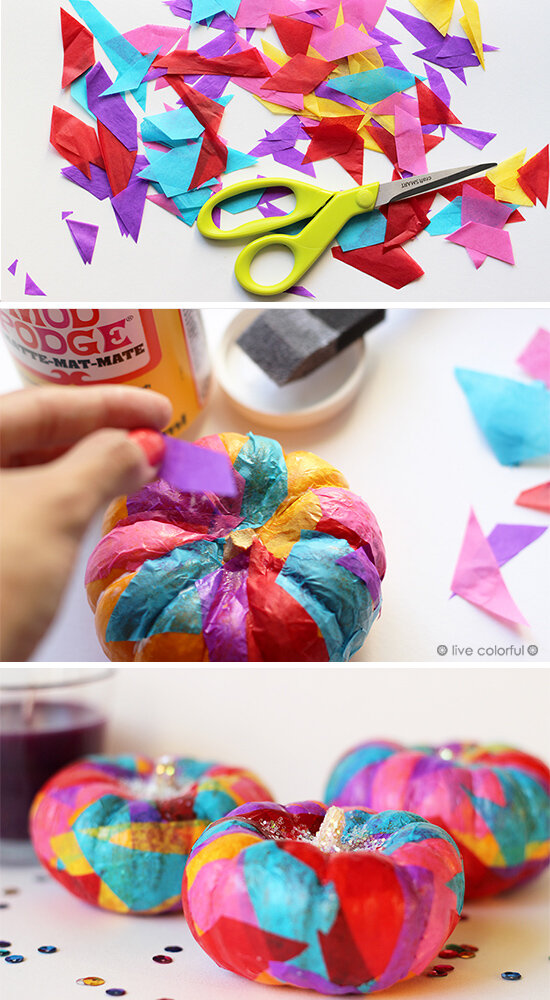
1. First you need to cut little pieces of tissue paper. I cut some triangles, squares and other fun shapes, there are no rules.2. Start by placing a thin layer of Mod Podge on the pumpkin using a sponge or small brush. Glue the pieces of tissue paper one by one making sure that they have been attached correctly.3. Once you have covered all the gaps on the pumpkin, let it dry for an hour.4. Go back and add an extra layer of Mod Podge, this time all over the whole pumpkin. This extra layer will make it stronger and will help you make sure that all the pieces of tissue paper are firmly attached. Let it dry for another hour and it will be ready!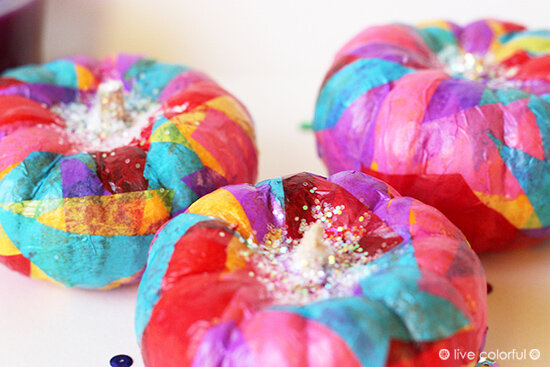
I made three small pumpkins that look great as a centerpiece. You can also use this technique on larger pumpkins, I would recommend cutting the tissue paper pieces much larger and following the same steps.
They are colorful, original and a fun activity you can try with the kids this weekend. Happy beginning of October!