DIY: Food Stamping
Spring break is here and with that lots of kids are hanging around the house looking for something fun to do. I know because although I don't have kids, I have a niece and three nephews and I can imagine them asking their parents for something to do during the break, or more likely just saying, “I’m bored”. I did this little project for myself thinking that the kids would love it, because really, who doesn't want to add a little color to an old shirt and have a good excuse to play with their food?
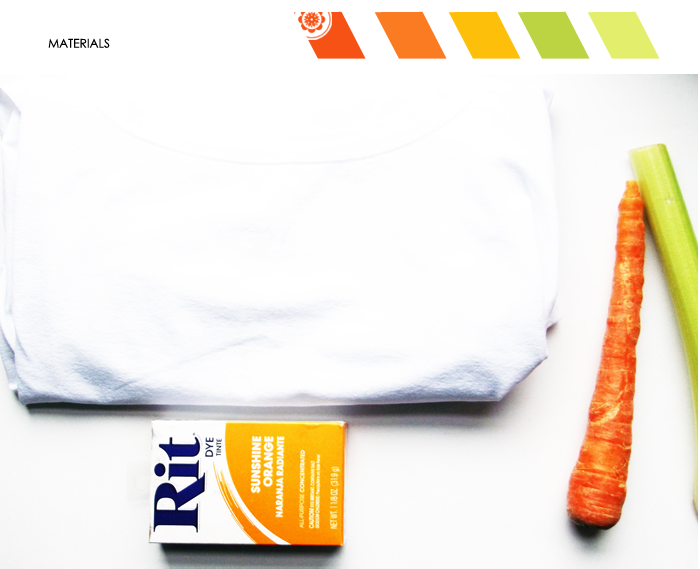
What you need:
- vegetables or fruits yum yummy!
- Some kind of fabric dye or fabric paint
- A white t-shirt, other colors work too, but probably won’t be as dramatic
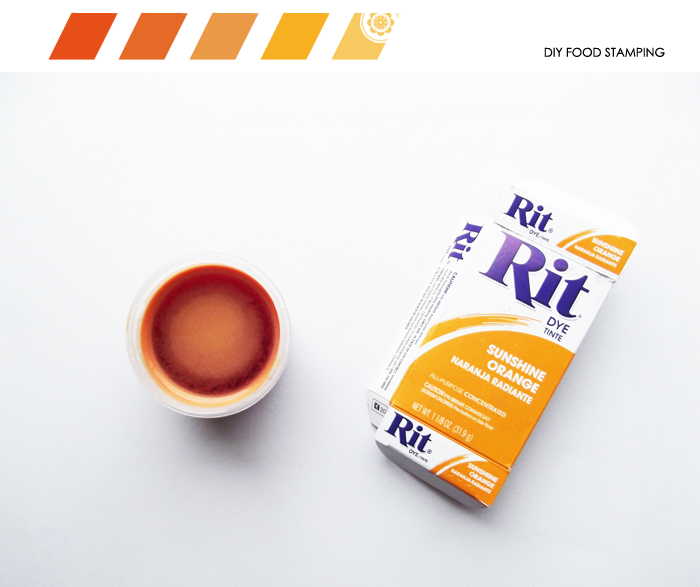
I bought this bright orange dye because I wanted to see if this kind of product would last on fabric for this kind of project. They are made to brighten colors of washed out clothes and normally are used in the washer. So, I did a little experiment and put about a third of the powder in a little container and mixed it with hot water, then I started stamping. And believe it or not, It works! I washed the t-shirt two times and the orange dots are still there, not quite as bright as the first time but that might be what you are looking for. It ended up being a semi-transparent finish after being washed.
If you are looking for something brighter use fabric paint like this.
 Steps:
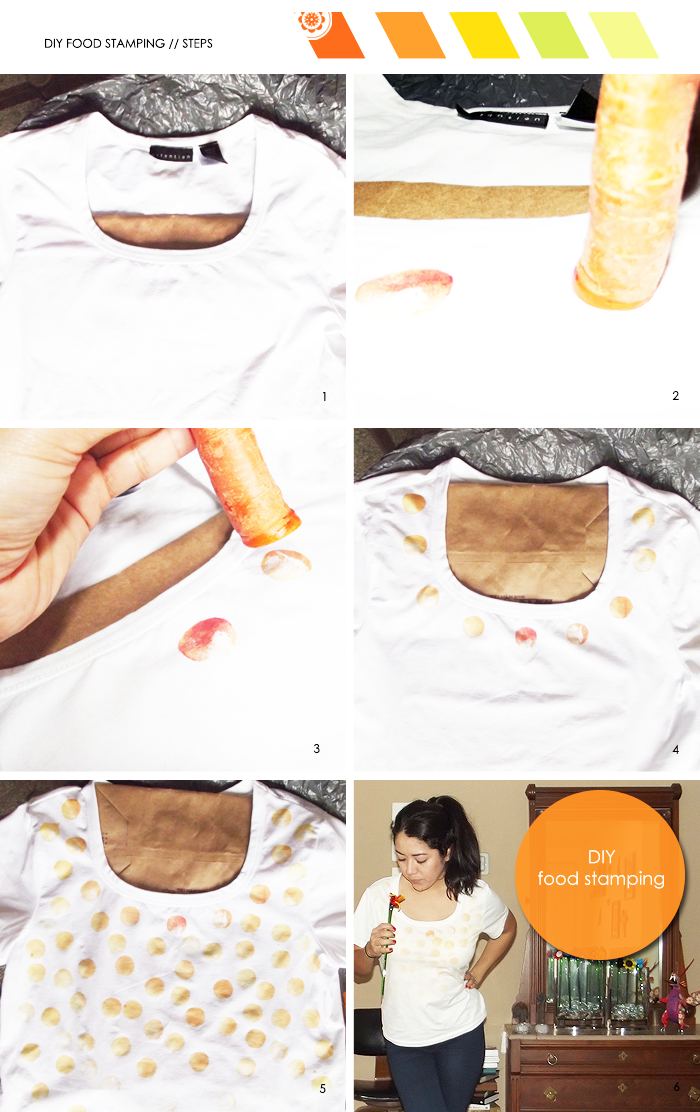
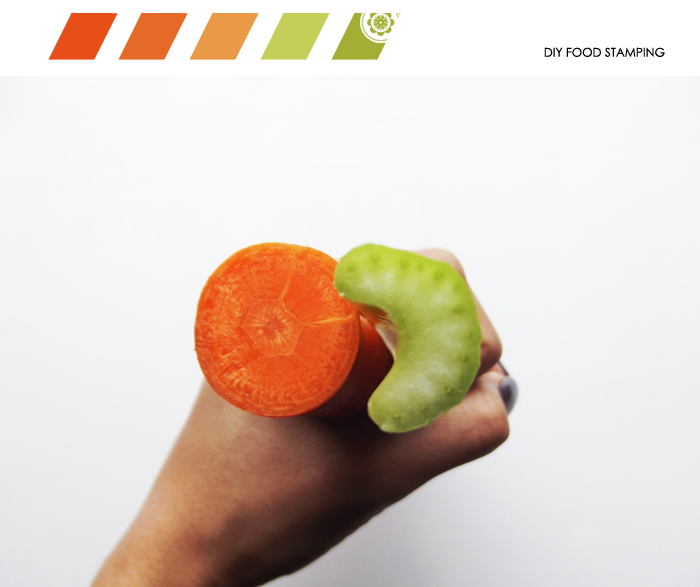
Before you start you need to cut your vegetable or fruit and give it a good flat stamping surface. Potatoes are great for this project too because you can draw a little design in the potato and carve a customized stamp, celery is one of my favorites too in case you want to create something with moons. I used a carrot because, well I just love dots, it was perfect and easy.
1. Use bags or paper under the t-shirt to protect your work space.
2. Soak the vegetable or fruit in the paint or dye and start stamping. Make sure to press down a little bit.
3. Start playing around, make a pattern, create an image line or just be random.
4. What I did at first was follow the line of the collar and gave it a bit of a border before I started with the rest. I loved it, I wanted to leave it like that but I had planned to give it a bit more. You could just make a little design on the collar as well.
5. In case you want more, continue randomly covering all the empty spaces.
6. You are done! You are ready to go and sniff flowers and enjoy the spring time with your new t-shirt :)
This little project is perfect to bring some color to your wardrobe or get those bored kids doing something and maybe even have some fun in the process!Another great idea using this kind of dye would be to fill up water guns and foot your clothes, using three or four different colors would look fantastic and definitely give a t-shirt something unique!
Hope you like it! Xo, Elba.
What other fun projects are you planning for spring break?