DIY: Braided Fabric Head Wrap
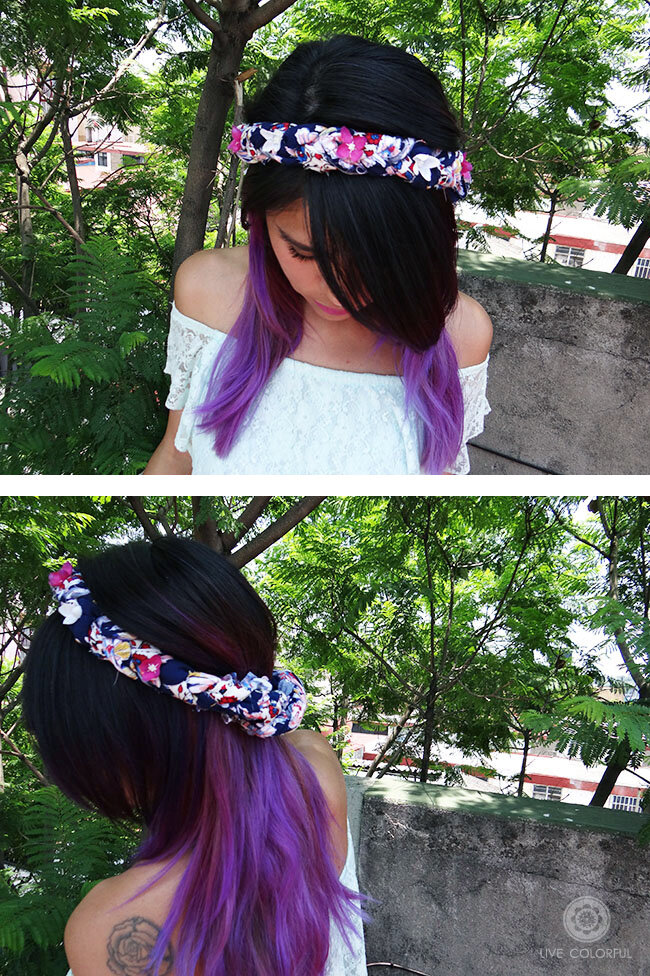
Make a pretty braided head wrap this summer! Wear it as headband, use it to decorate a hat or make a bow for one of your favorite summer bags.
This post may contain affiliate links.Thank you for supporting this website!
I love versatile fashion accessories, especially the ones you can adjust and wear in many ways and many occasions.
Summer inspired us to create a braided fabric head wrap using some pretty fabric scraps. The patterns in the fabric are summery and fun and the way to make it is easy peasy. I know you will love the idea of being able to use this braided head wrap as headband, but also to decorate a hat and even make it a bow for one of my favorite summer bags for the beach.
Check out the quick video below so you can see how we made this braided fabric wrap (from the beginning of the video to the minute 2:21). There is also another tutorial in the video, it’s how to make a flower crown starting from the minute 2:21.
MATERIALS:
Fabric scraps
Scissors. Our favorite scissors are these here.
Needle
Thread
Hot glue
Hot Glue gun
How to Make a Braided Fabric Head Wrap:
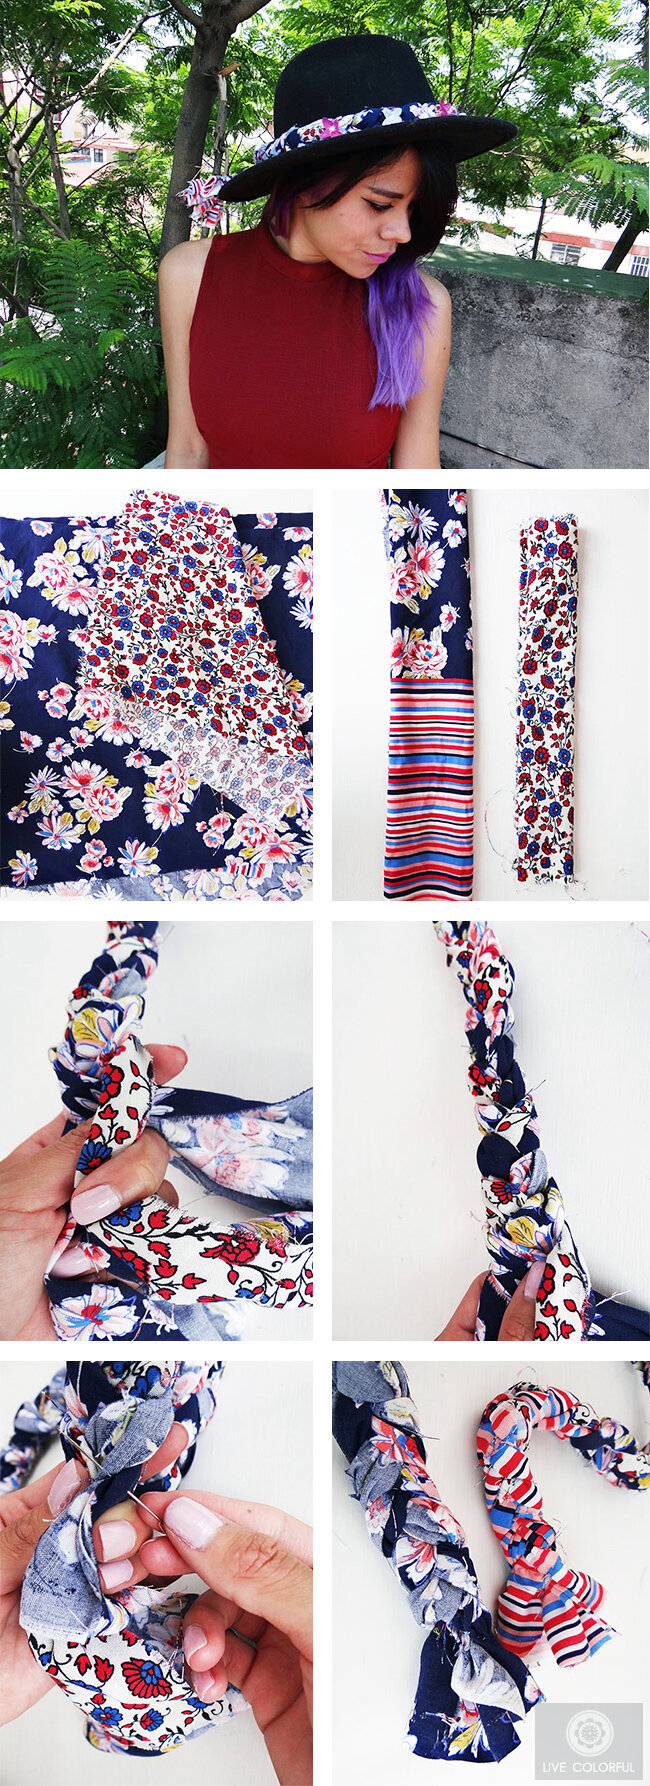
Start by cutting six long and wide strips of fabric. Approximately 36 inches long. One way to know the length of your fabric strips is by measuring your head or the hat you want to decorate and adding 3" on each side of the strip to be able tie a knot on both ends.
Organize the fabric into pairs, one on top of the other one but leaving the printed side of the fabric exposed. Since you are not closing the strips completely, you will have some raw edges, for a relaxed look.
Start braiding the three pair pieces together, one on top of the other one.
Make sure it fits in your head, or your hat that you want to decorate. Cut the excess of fabric from both sides and give a few stitches at the end to hold the fabric together.
Tie a knot at the end to hide the stitches.
That easy! Now you have a beautiful head piece that is ready to be paired with a flirty, fun summer outfit! You can also update an old hat you have at home to make it look fresh and beach ready with this simple DIY project.