How to Make a Unique Wedding Banner
Hi guys. This is an old DIY project that I shared on Allison’s lovely blog "Dream a Little Bigger"some time ago. I was moving at the time and totally forgot to share it. This tutorial is all about how to make a wedding banner, I made one at my wedding and it was awesome . Don’t forget to visit Allison’s blog, she has the best crochet tutorials ever!!
I've seen wedding signs painted on wood or made out of paper but for our wedding I wanted something that I could fold and keep with me for many more years and that didn't take up much space. So I thought about using fabric for the signs. We got married in a house on a lake, the entrance was a bit hidden, but the sign was a beautiful and helpful detail that added something cheerful to the entrance.
I had this idea of mixing different fabric textures and colors to make something that looked like a quilt but keeping the details a bit rustic and making the project really simple and easy.
Steps:
1. Cut a big piece of fabric. I chose a coral tone that matched my wedding color scheme. My wedding sign measured 38” x 38”
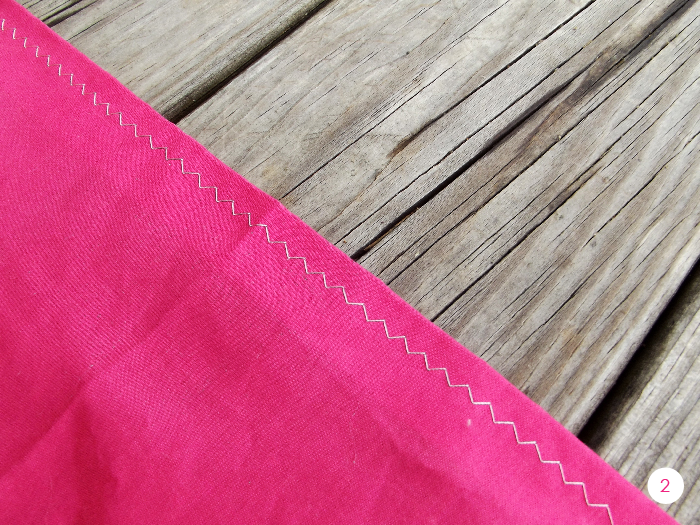
2. Sew some hems around the fabric to frame it and keep a clean finish.
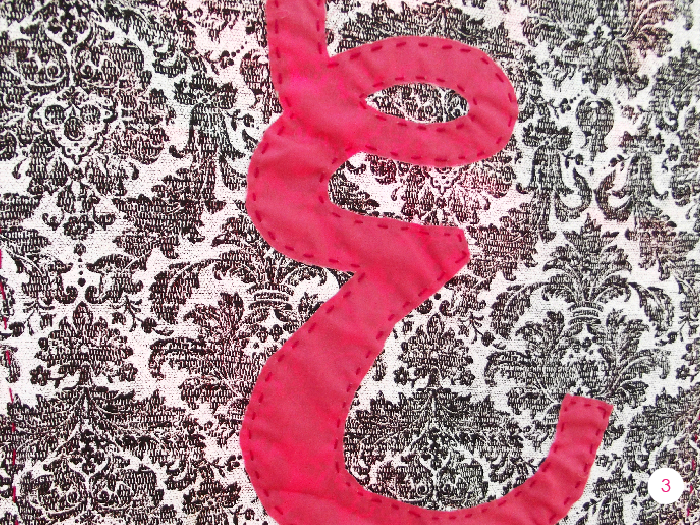
 3. If you take a look, I added some squares with a black and white fabric, Don't they look fun? You could do something like this or just go ahead and add letters to the fabric. I looked for some fonts on the computer and traced them on the fabric.Adding the shapes with thread was actually quick and easy. You are gonna be able to see some lines, I really like that, so have fun with the colors of the threads and the sizes of lines you make.
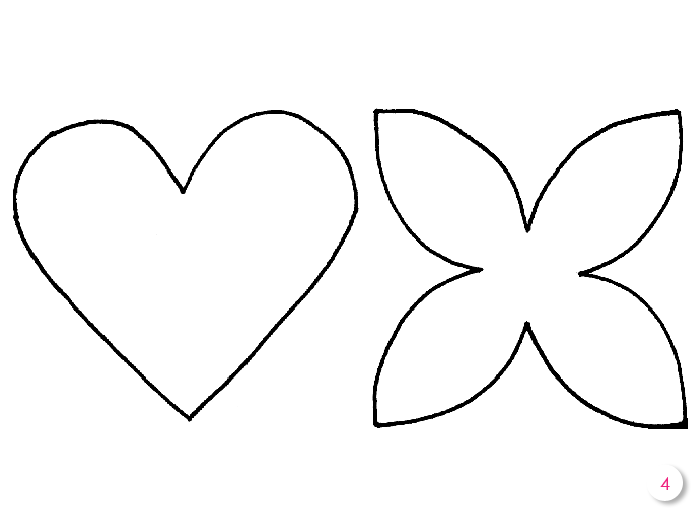
4. Add other fun shapes mixing fabrics, colors and textures. You can download the next image with the patterns I used for mine. I added some hearts and flowers, I think they are really cute.
4a. Two sizes of hearts. I love being able to enjoy the lines made by the thread!
4b. These are three flowers superimposed and sewn by hand. Make a little dot in the center for an extra detail.
5. To finish this project, add some strips of fabric to the corners that you will use to hang the signs. I made a strip 50” long and sewed the middle to the corner of the sign.
Listo! It’s ready!!
This project is an awesome little detail that you can keep and enjoy many years after your special day and it also could be a perfect idea for other kinds of signs like a summer flag for the garden.
I hope you like it!!


