Sew a Puzzle Softie Tutorial
How to sew a puzzle softie. A super simple sewing DIY tutorial that is perfect for kids.
I was invited to participate in a Sew a Softie hop this year for the first time! It was a super fun project because my son keep asking me about teaching him how to sew so he can create his own super monster and other creatures softies.
Sew a softie is inspiring so many kids and adults all over the world to learn to sew, and we felt so happy to be part of this movement and be able to share our fun puzzle softie with all of you!
I decided that this time we will make something super simple, so my son could actually help me sew the pieces together, and it was just the perfect easy project for a 6 year old kid.
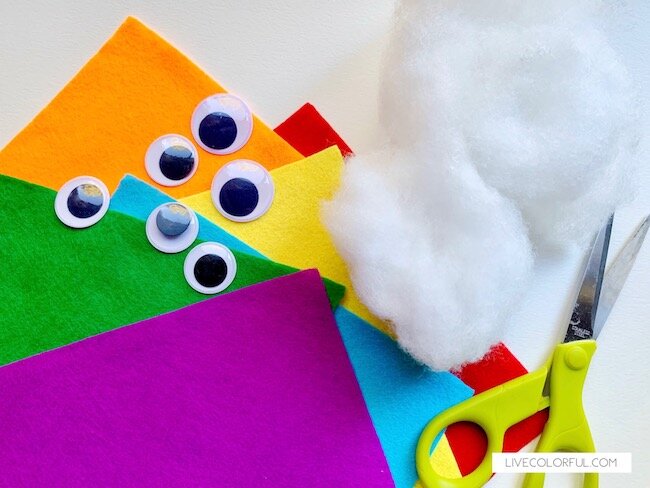
MATERIAL:
Materials to create your own puzzle softie.
STEPS:
Draw two rectangles and a square inside a felt sheet. You can add more shapes to your softie puzzle if you want!
Cut the two rectangles and a square out of felt
Sew all the sides of the softies with the kids using embroidery floss to make it easier for the kids to thread the needle and see the thread. Leave a small opening in one of the corners of the softie!
Add pillow filling or any filling fiber inside the softies and close the softies completely using thread and needle and making a nod at the end.
Use hot glue to add the googly eyes for a fun detail.
Play with your puzzle softies until the “pieces” fit together. Add as many puzzle pieces as you want, making more rectangles, squares, triangles and more, to make your puzzle super big!
Play with your puzzle softies until the “pieces” fit together! We used different colors for each side of the softies and that make them look more cheerful and happy. You can keep making and adding more softies until your puzzle is super big!
Check out more projects in Instagram using the hashtag #sewasoftie or looking at @sewasoftie account.
More fun tutorials for you and your kids in our IG account @LiveColorfulCo.


